When I was a young girl, I loved playing with paper dolls. Now that I have two kids of my own now, I have noticed that my daughter, too, loves to play with paper dolls. The only bad thing about them is they get torn up so quickly and easily by her little brother. How can you enjoy the wonders of paper dolls and all their wonderful clothing options without them getting torn up? FABRIC... fabric doesn't tear or give you paper cuts. Fabric has all kinds of possibilities for a clothing wardrobe. That's IT! I give you... Flat Emelie and Matt... I hope you enjoy!

1 Layer Cake {featured is
Whimsy by Fig Tree & Co.}
1/2 yard Bella Solid in Natural
2 yards Fusible Fleece
2 yards 1 1/2" Sew-On Velcro
1 yard 7/8" Grosgrain ribbon
Coodinating Thread
20" coordinating Jumbo Ric Rac
Making the flat dolls:
Print out the templates located at the end of the Printer Friendly Version.
Cut out all the clothing and doll pieces and tape the body pieces together to form your complete doll template for the boy and girl.
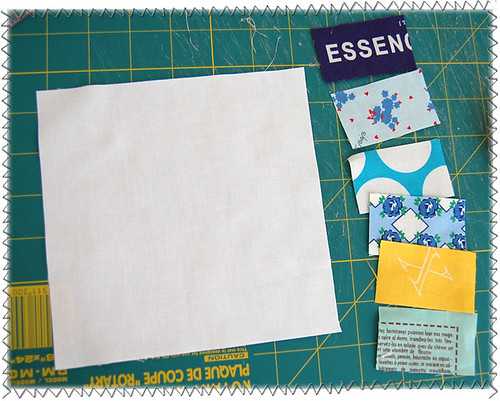
Cut out 2 pieces of fusible fleece and bella solid fabric for each doll.
Fuse the fusible fleece to the wrong side of each of the pieces of bella solid fabric. You should have two fused pieces of fabric for each doll.
Using a fabric pencil {I prefer to use a sewline ceramic pencil... nice smooth lines}, trace around the each doll on the right side of the fused fabric. You only need to trace on one piece of fabric for each doll.
PLEASE NOTE: ALL VELCRO PIECES USED ON THIS SECTION ARE TO BE THE FEMALE SIDE {SOFT SIDE OF VELCRO}
Lay a piece of 1 1/2" velcro across the undie parts of the dolls. Using your fabric pencil, trace the undie lines onto the female {soft side} of the velcro. All the undies and socks on the dolls should be made from the soft side of the velcro.
Place your pieces on the fabric doll to get proper fitting.
For the larger undie sections, simply place two pieces of velcro side by side as shown.
Now layer all your pieces together...
1. lay down your blank fused fabric piece, fused side up
2. lay down your traced fused fabric piece, fused side down
3. position the velcro pieces in place for undies.
Pin all pieces together.
Using an 1/8" seam, stitch around the inside of the sketched areas. On the velcro, make sure you stitch around each pieces to reinforce it.
Cut out your doll just inside of the sketched lines so you don't have any pencil lines showing.
Making and attaching the hair for your flat dolls:
From your layer cake, select 1 slice that you want to use for the hair of your dolls. If you want different colored hair for each doll, then select a slice for each color. You can get two hair pieces on each slice of layer cake.
Just like you did for the doll, fuse a piece of fusible fleece to the wrong side of each of the fabric pieces used for the hair. I cut a layer cake slice up into fours creating 4 5" squares. Place the hair piece onto the right side of the fabric and trace around the template using your fabric pencil.
Match up the back side of your hair piece and the front side (the piece you traced on) with the two fusible pieces facing each other.
Using an 1/8" seam allowance, stitch around the inside of the drawn line. Cut out the hair just inside the pencil line to form your hair piece.
Place your hair piece on your finished doll and pin in place.
Stitch the hair piece onto the dolls head. I created hair waves and lines when stitching it to the head so it looked like the stitches were suppose to be there. Just make sure your hair lines you create catch the back side of the head so the hair stays in place.
Making the clothes:
Select layer cake pieces for each of the clothing pieces you wish to make. I found that if I cut my layer cake in half first, then I was not wasting a lot of fabric by fusing the entire thing. It was much easier to work in these sections.
Iron on a section of fusible fleece to fit the clothing item you wish to make. The clothing will be made just like you did the doll and the hair, however instead of stitching directly to the doll, you will add the male side (rough side) of the velcro to the back side of the pieces so you can easily remove each particle of clothing on the dolls.
For the smaller pieces of clothing such as the shirts, skirt and shorts, I just fused a piece of fleece to a 5" x 10" piece of fabric (half a layer cake slice). Then I folded the piece in half as shown to create the front and back of the clothing item.
On the front side of the fabric, trace around the clothing item you wish to make using your fabric pencil. The dotted lines of the clothing pieces resemble the stitch detail.
Flip your folded piece of fused fabric over to the back side and position a piece of male sided velcro (rough side) so that when sewn, it should be on the middle back so it will attach easily to the doll when playing. Pin in place.
This is what your 5" x 10" piece of fused fabric should look like when unfolded.
While the fused fabric is unfolded, add any of the clothing details such as the pocket. On the velcro side, stitch the velcro in place. Stitching the velcro on before stitching the two sides together will keep your clothing look nice and clean without a bunch of extra stitching lines that are not necessary.
Fold your piece of fused fabric back together with the right sides of the fabric facing out. Using a 1/8" seam allowance, stitch around the inside of the pencil lines and add any other clothing details such as the hem of the shirt.
This is what the back side should look like.
Cut out the item along the sketched line.
Your doll now has a piece of clothing that you can put on.
Repeat these steps to create a whole wardrobe for your flat dolls.
For the shoes, I simply cut the shoes out of one side of fused fabric and then cut a piece of the male side {rough side} of velcro in the same shape as the shoe.
Then stitch around them to attach the velcro to the shoe while creating the stitch detail on them. For the tennis shoes, I used a zig zag stitch for the tread of the shoe.
Your dolls now have a complete wardrobe that you can always add to by creating new pieces of clothing out of different fabric choices. They may end up with a larger clothing selection than you. :)
Making the flats bag:
You will need three pieces of layer cake for this bag along with a 10" by width of fabric of lining. I used the bella solid that matches the dolls body.
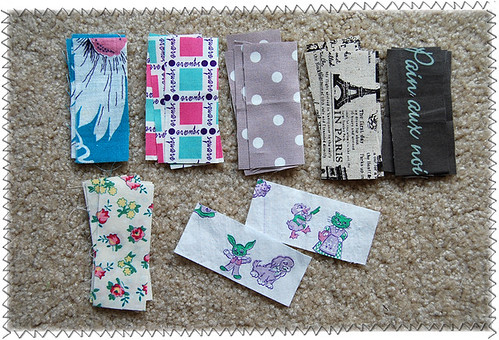
Cut one piece of layer cake in half. Cut 2 pieces of ric-rac, 10" each. Lay out your pieces and ric-rac the way you want your bag to be made. I used a solid piece of layer cake for the front of the bag and a dottie coordinate for the back side.
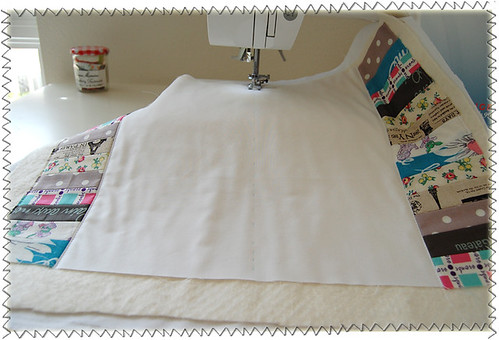
From the fusible fleece, cut out a strip that measures 10" by the width of fabric.
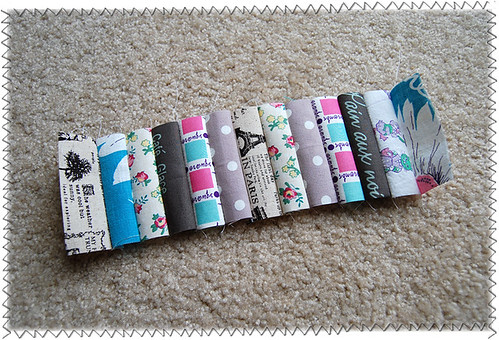
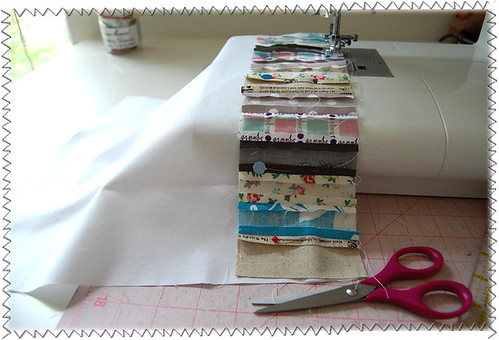
Starting at one end of the fleece, fuse a full piece of layer cake.
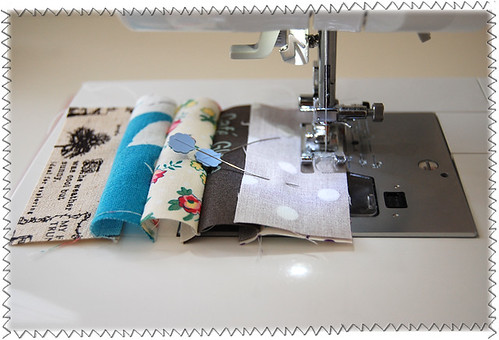
Lay your ric-rac across the top edge of your layer cake so that the layer cake edge sits in the center of the ric-rac.
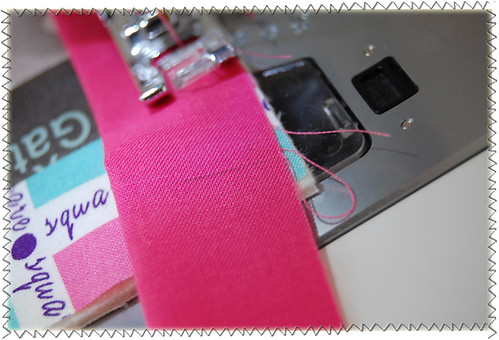
Position one half of the layer cake piece you cut right side down, aligning the edges of the layer cake squares and in the center of the ric-rac and pin in place.
Using a 1/4"seam stitch together.
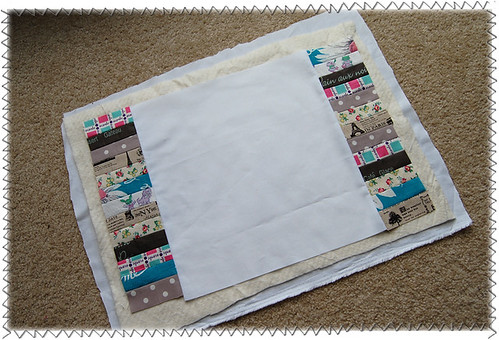
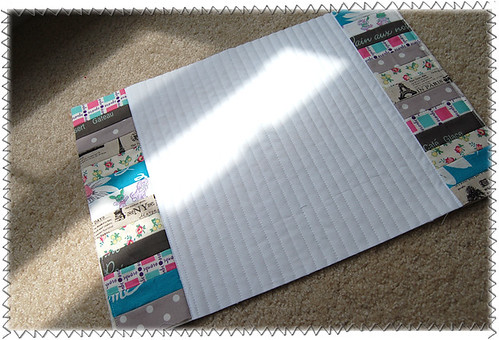
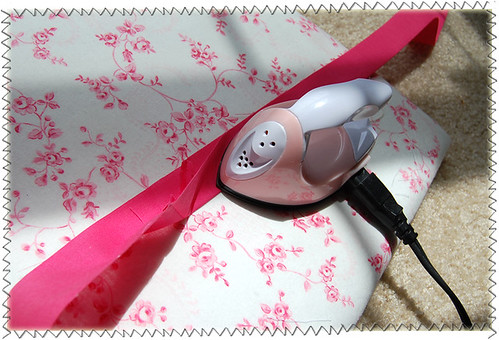
Fold the 5" x 10" piece up and iron to the fusible fleece. Trim the back down to 10" x 14 1/4"
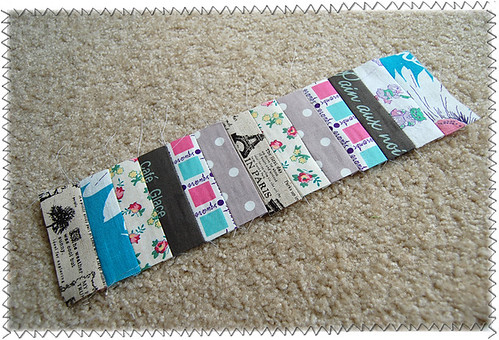
Repeat these steps for the front of the bag. You should now have a front and a back of the bag that measure 10" x 14 1/4" each.
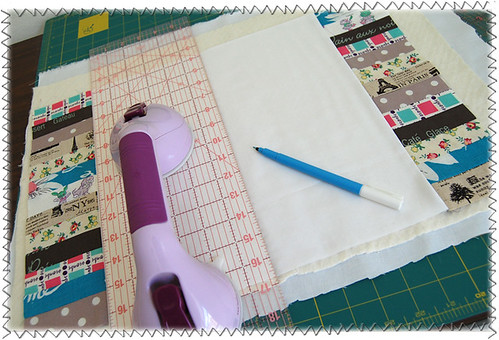
Using the letters attached in the Printer Friendly Version, cut out the same way you did for all the clothing. You do not need a back for these letters as they will be stitched down on to the front of the bag.
Position the letters where you want them to go on the front of the bag. Using the Sewline fabric glue pen, apply some glue to the fusible fleece part of the letters. Paste in place. This was the first time I used this glue pen and it is AWESOME for small jobs like this. No pins required.
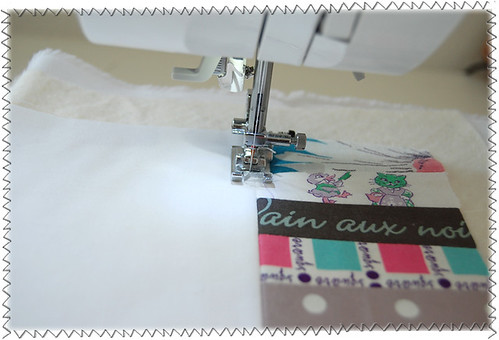
Stitch your letters onto the front of the bag. I used several straight stitches to attach... I liked the way it gave it that artsy, juvenile look to it.
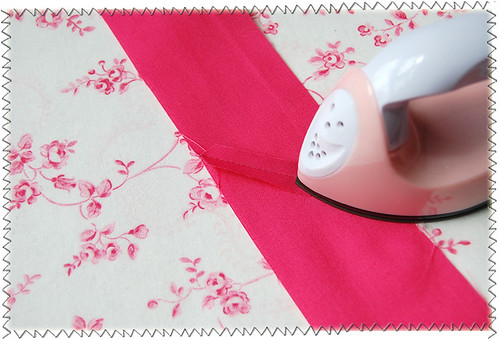
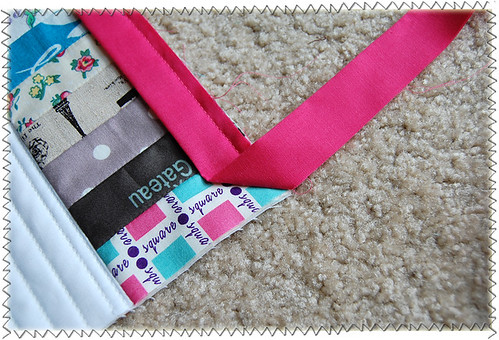
Cut two pieces of grosgrain ribbon, 18" each. Measure over 2 1/2" on each side and pin the ends of the ribbon in place. Make sure your ribbon does not get twisted when pinning.
Using a 1/8" seam allowance, baste your handle ends in place to the top of the bag front and back.
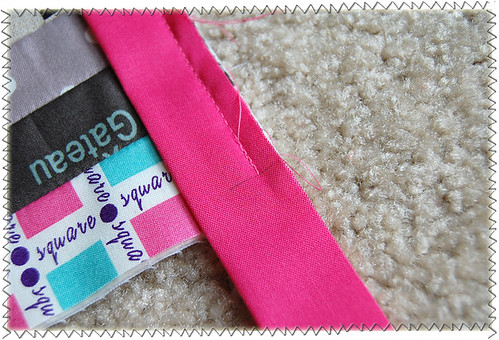
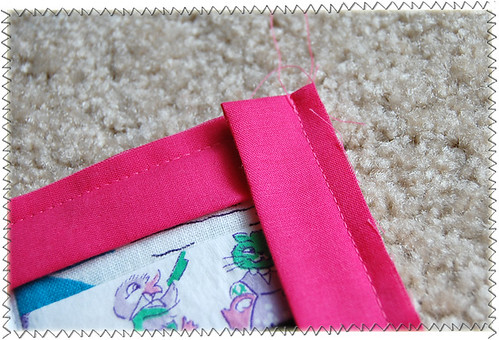
Topstitch your ric-rac seam in place on the top section of the front and back pieces of your bag.
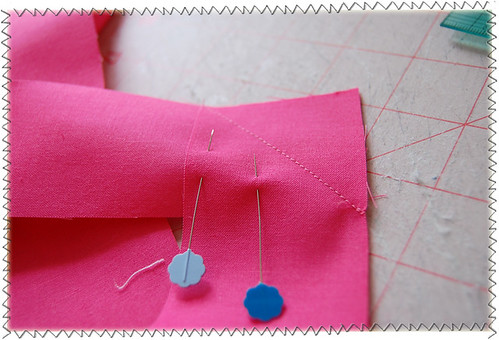
With right sides together, stitch your front and back pieces of the bag together using a 1/4" seam on the sides and bottom. Do not stitch the top opening closed... leave open. Make sure you catch your ribbon handles in the side seams.
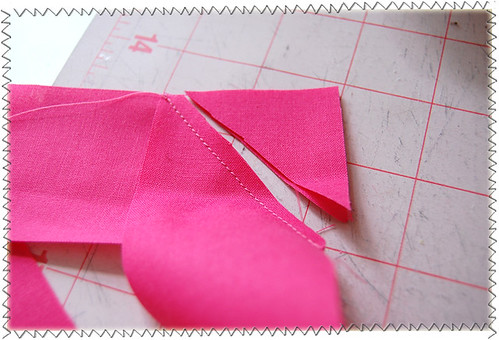
At the bottom corners of your bag, cut away a 1" square from each corner.
Match the side and bottom seams together and pin in place for both bottom corners. Stitch across the end using a 1/4" seam. Leave your bag facing inside out.
Do the same for your lining fabric.
Cut 2 pieces of lining fabric 9 3/4" x 14".
With right sides together, stitch a 1/4" seam on the sides and bottom of the bag, leaving a 3" opening at the center of the bottom for turning your bag when attached to the exterior. Cut a 1" square from each corner of the bag as done with the bag exterior and match the side and bottom seams together and stitch together as shown above with the exterior of the bag. Flip the bag lining right side out.
Slip the lining inside the exterior of the bag as shown. Your lining and bag exterior should be right sides together. Match up the side seams and pin in place. Using a 1/2" seam allowance, stitch all around the top of the bag. I backstitched over the ribbon handle ends to help reinforce them.
Flip your bag right side out through the 3" opening left at the bottom of the lining.
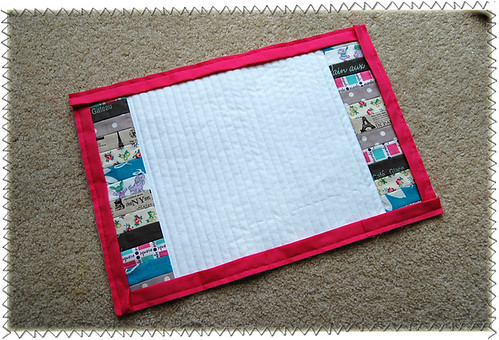
Your bag should now look like this.
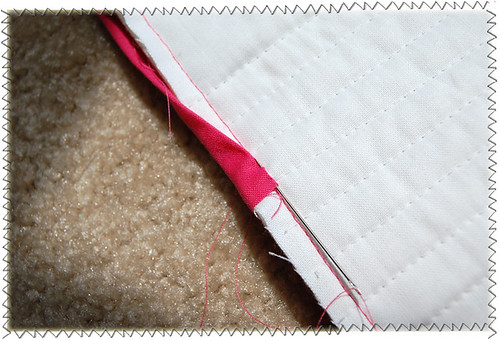
At the bottom of the lining where there is the opening, fold the raw edges in 1/4" and topstitch closed using a 1/8" seam allowance.
Push the lining inside the bag and get it all straight. Iron and topstitch the top of the bag to keep the lining in place and to finish off the bag.
One cute little bag to hold all your flat dolls and clothing.

A bag, 2 flat dolls and a very large wardrobe for your flats and a very excited little girl.
Enjoy!