Quilted Placemats Tutorial

These placemats are just so much fun to make!
I hope you'll sew up some too!
Here is the tutorial for making a single
placemat and a potholder made in a very
similar way. As usual, seam allowance is 0.25"
unless otherwise noted. Here we go!
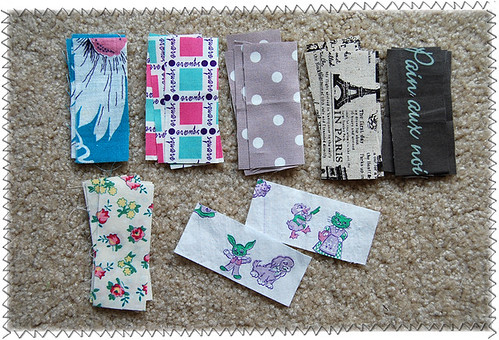
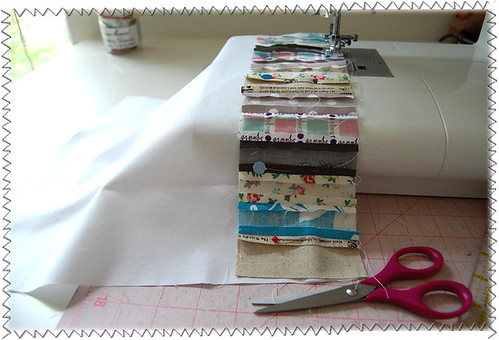
Cut out 26 pieces of fabric pieces, each measuring
1.5" x 3.5". I cut out 4 pieces from 6 different
fabric and 2 pieces from the interesting fabric.

Lay out the pieces of fabric to come up
with 2 sets of panels made with 13 pieces.
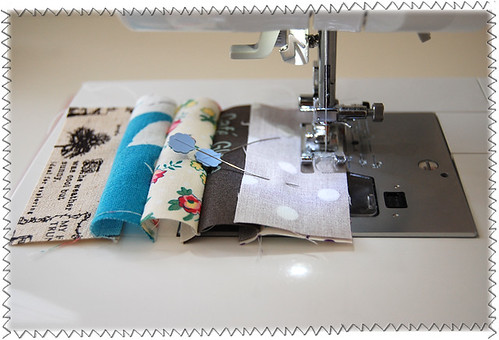
Sew them together.
Fun!

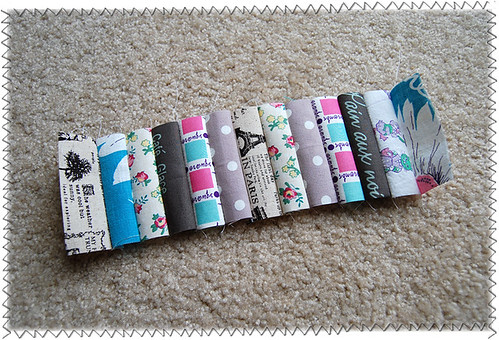
Press seams open.
Now it's nicely flat!
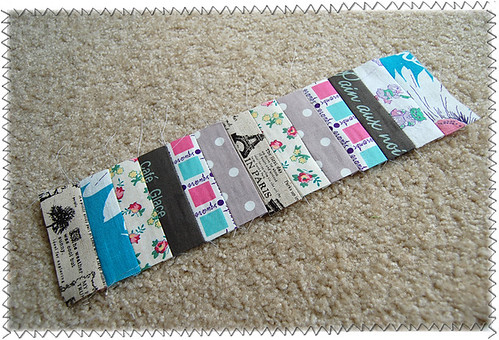
Repeat the same process for the
other 13 pieces.

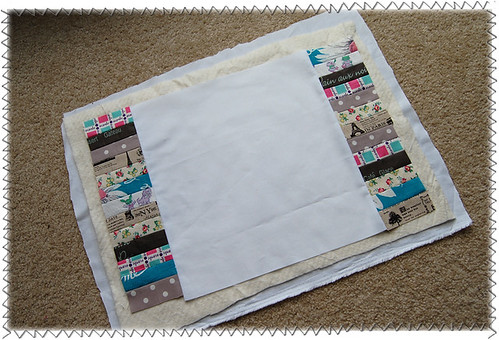
Cut out 13.5" x 13.5" square from white Kona.
Sew the patchwork panels to the sides.

Press seam open again.
Cut out a piece of cotton batting a bit larger
than the top panel, then cut out a piece
from the same Kona white even larger than
the cotton batting.

Use quilter's basting spray to make
the sandwich nicely attached to each other.
(It's not necessary to use this spray,
but it will make quilting process
about ten times easier.
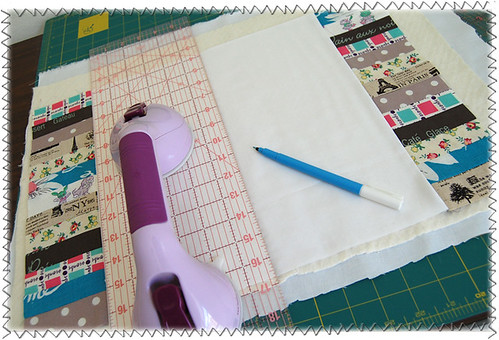
Now using a water-soluble pen,
draw one line like this in the
center of the placemat.

Just one line should be good enough ;)
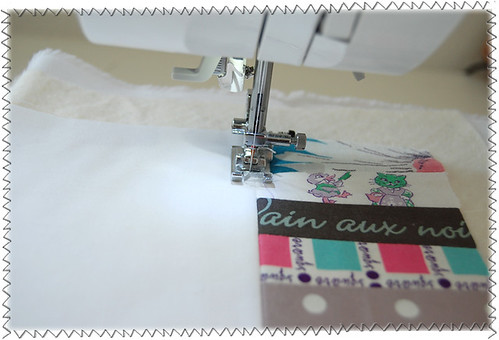
Quilting time ;)
I like to start from here to secure the edges.

Then I saw very close to the edge
on the side. I repeat the same process
for the other side.
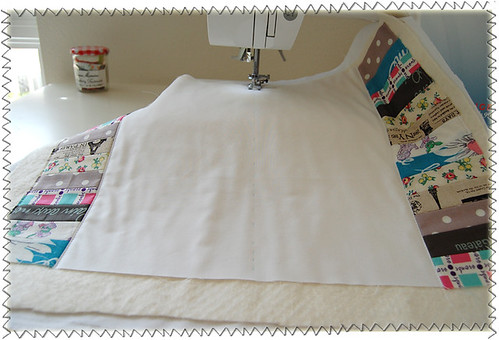
Then start quilting from the very middle
where you drew a line.

From there, go towards left and right
making parallel quilting lines.

After quilting all the way to the
sides, trim excess.
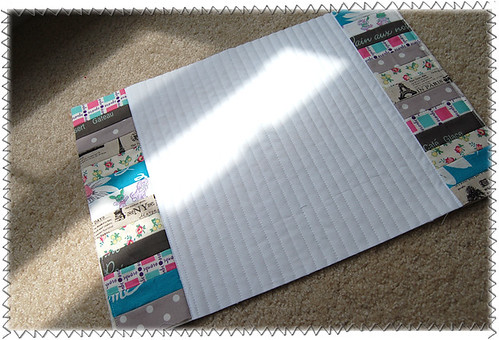
It looks much better now ;)

Now let's make a binding tape.
You can purchase already-made one
from a local craft store, but if you'd
rather make it on your own, then follow me :D
Cut out 4 strips measuring 20" x 2" each.

Now we'll sew the strips together.
Draw a diagonal line at the edge of one strip.
Sew along the line.
Trim the excess. Repeat the same process
to create one long binding tape.
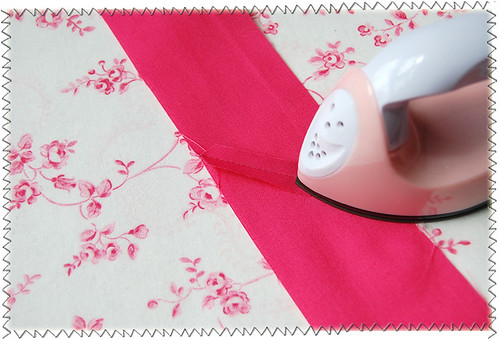
Press seam open.

Press to make a fold at one end.
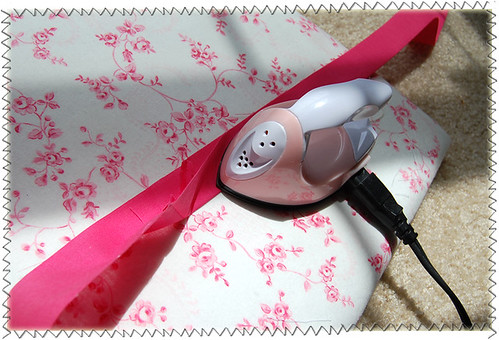
Now fold the tape in half and press.

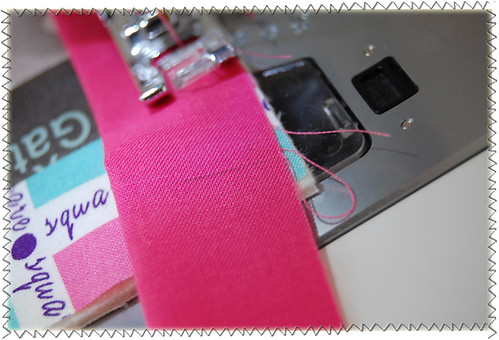
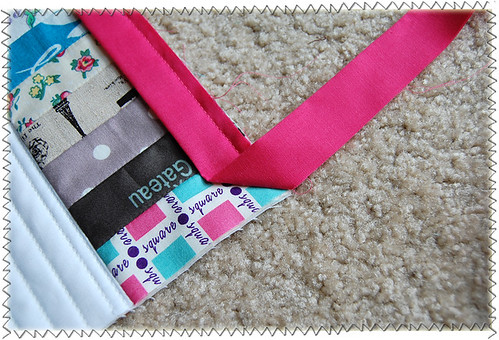
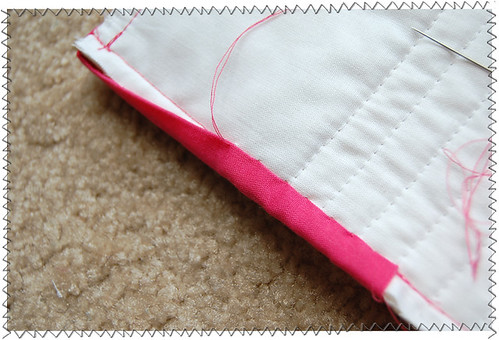
Yay! It's time to attach the binding
onto the placemat. We'll start from the end
that is folded. Align the raw edge of
the tape to the edge of the placemat and
start sewing.
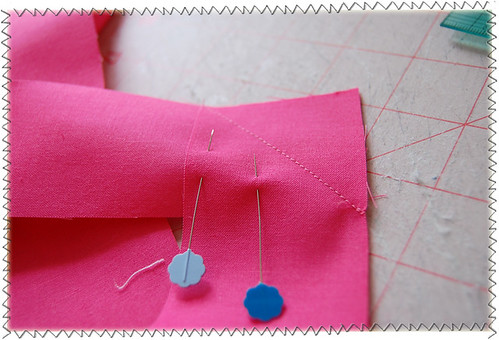
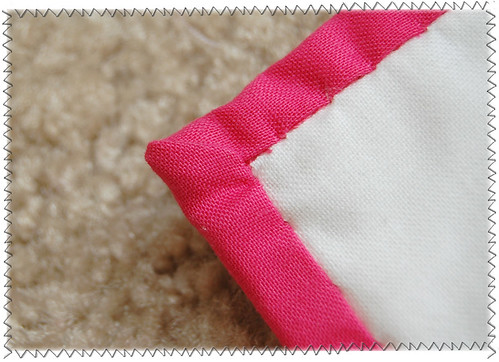
When you are about a few inches from a corner,
stop there and use a ruler and a pencil to
draw a line at 0.25" from the edge.
Stop at the line and back-stitch.
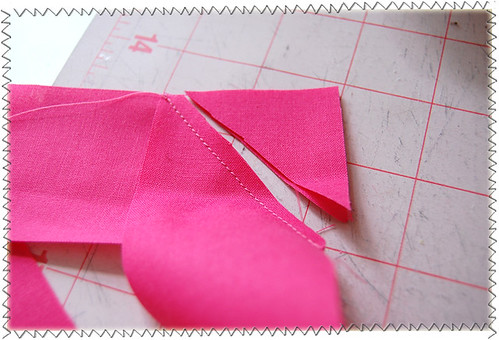
Now fold the tape like this.

And fold like this, making a folded triangle inside.
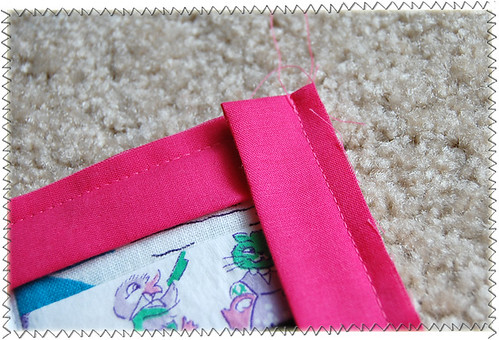
Then sew from the very top edge.
Do this for the rest of corners too.
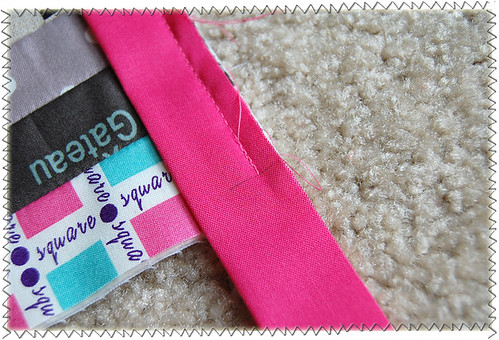
When you are almost done with sewing the
bias tape on to the placemat, make sure to
sew about 0.25" on top of the part that you
started then trim excess.
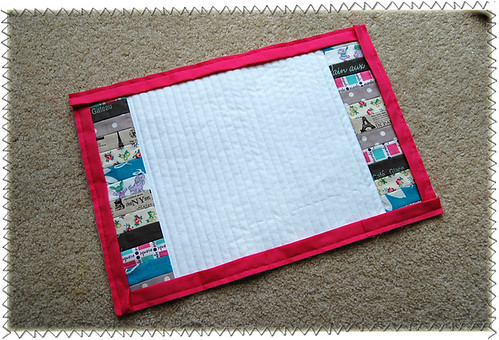
It should look like this now.
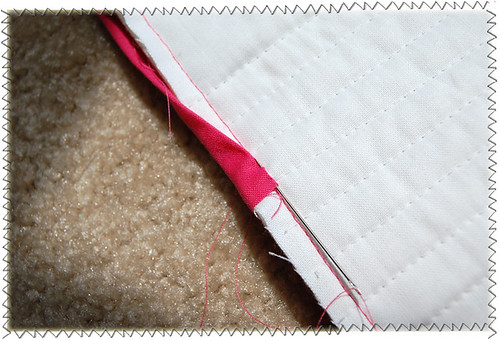
I really like the look of binding tape
attached by hand, so I prefer hand-sewing
in this process. You might need to sew it
on using a machine if you are working on
last minute gifts because hand-sewing could
take some time, although it's fun.
Just like this, as I go along, I make sure
to cover up the stitching line.
This is how the corner on the back should look like.
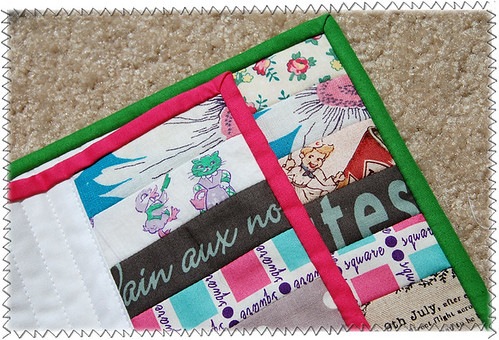
Then you're done :D Hooray!!
Do you happen to feel like making a little
version of it? Maybe a potholder?
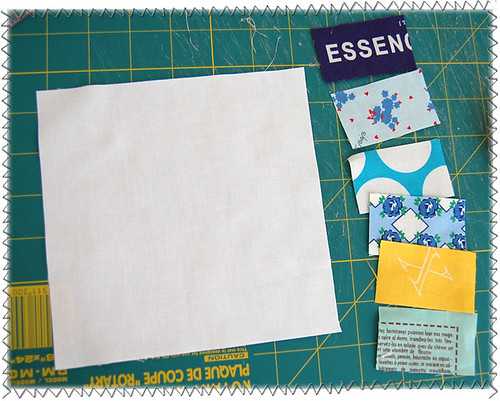
I cut out 6 pieces of fabric measuring 2.5" x 1.5"
each and one piece of Kona white of 6.5" square.
I used pretty much the same method throughout
except that I added a little string and
replaced cotton batting with heat-resistant batting.
(I needed 4 strips of pieces measuring 2" x 9"
to make a binding tape for this.)

I like this as much as those placemats :D

Thank you so much for reading such a long post!
I hope you'll make something using this tute
and share your creations in the flickr pool!
Now I can't wait to see yours!!
Have a great crafty day!
No comments:
Post a Comment